The System Toolbar is composed of toolbar buttons (i.e., icons) displayed on both sides of the bottom of each screen. Unlike the Screen Footer, the System Toolbar is FIXED at the very bottom of the screen, even if you scroll through the screen.

(On the EHBs Home Page, the System Toolbar may also contain the date and time of your last login.)
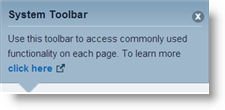
The very first time that you login to the system, a toolbar alert message will be displayed above the System Toolbar, in order to make you aware of it.
Note
The toolbar alert message will remain on the screen, and will also be displayed on other screens, until you remove it, even if you login again.
To remove the toolbar alert message, click the X button at the top right side of the message. You will not see the message on any other screen, even after future logins.
If you hover your mouse pointer over a toolbar button, hover-text will be displayed, indicating the function of the toolbar button.

If you click a toolbar button, an appropriate pop-up will be displayed for you to enter details or to select items to be displayed.
Left Side of the System Toolbar
The left-side System Toolbar buttons enable you to easily access content (for global actions). The meanings of these buttons (from left to right) are:
Right Side of the System Toolbar

The right side System Toolbar buttons enable you to perform page-level actions. The meanings of these buttons (from left to right) are:
- Set Font Size for Screen
- Control Screen Layout
- Display Help Support
- Print Screen
- Provide Feedback
- Add Screen to Favorites
Some screens also contain additional toolbar buttons on the right side of the System Toolbar.
System Toolbar Use
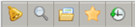
Messages
1. After you click the [Messages] toolbar button,
a list of upcoming events will be displayed that are related to your assigned
tasks or registered training classes.

2. Click an event name to create and display a calendar entry for the event in your Microsoft Outlook.
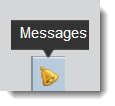
Perform Search 
1. Click the [Perform Search] toolbar button to display a Search Folders pop-up.
2. Click the dropdown arrow to display a list of search folders.
3. Select a search folder and click the search icon (i.e., the magnifying glass) to display a search parameter screen which is relevant to the folder.
Display Portfolio 
1. Click the [Display Portfolio] toolbar button to display a Portfolio pop-up.

2. Click Access Portfolio to display a pop-up window containing your portfolio.
Top
Display Favorites 
1. Click the [Display Favorites] toolbar button to display a list of your bookmarked favorite screens, arranged by category.
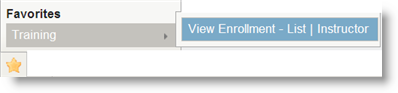
2. Select and click the name of the "favorite" to display the relevant screen.
Display Recently Accessed Screens 
1. Click the [Display Recently Accessed Screens] toolbar button to display recently accessed screens within this module.
2. A list of your recently accessed screens will be displayed above the toolbar button.
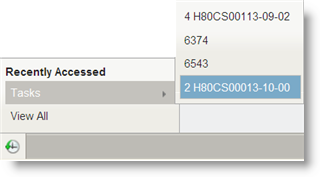
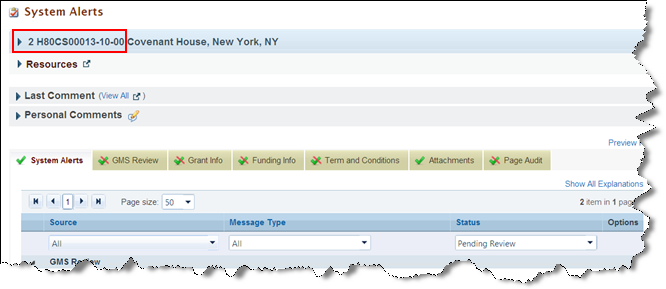
- If you click Tasks, and then you click a task name (or in this case, a number), as per the picture above, the screen corresponding to the task screen (shown below) will be displayed.
Note
Numbers are frequently displayed instead of task names. These numbers are unique task or document identifiers such as award numbers, funding memo numbers, etc.
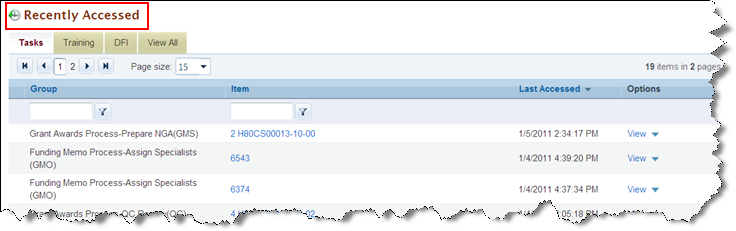
- If you click View All, the Recently Accessed screen (shown below) will be displayed.
Set Font Size for Screen 
1. Click the [Set Font Size] toolbar button to display a Font Size pop-up.
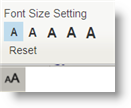
2. Click one of the "size letters" to change the font size accordingly.
Control Screen Layout 
1. Click the [Control Screen Layout] toolbar button to display the Control Layout pop-up.
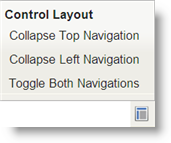
2. Click:
- Collapse Top Navigation to remove the Top Navigation Panel portion of the screen. (If the Top Navigation Panel is not shown on the screen, then this text will state Expand Top Navigation.)
- Collapse Left Navigation to remove the Left Navigation Panel from the screen. (If the left Navigation Panel is not shown on the screen, then this text will state Expand Left Navigation.)
- Toggle Both Navigations to reverse the settings of both the Top Navigation Panel and the Left Navigation Panel.
Display Help Support 
This is one of the most important System Toolbar buttons.
1. Click the [Display Help Support] toolbar button to display the Help pop-up.
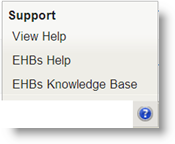
2. Click:
- View Help to view the (context-sensitive) help for the specific screen you are viewing. You can use the table of contents to find any other help screen.
- EHBs Help to view the help index page for all the help. You can use the table of contents to find any help screen.
- EHBs Knowledge Base to view knowledge-based articles written by HRSA users.
Print Screen 
1. Click the [Print Screen] toolbar button to display the Print pop-up.

2. Click Default to display the standard Windows Print Dialog.
3. After you select the printer on the Windows Print Dialog, click the [Print] button to print the screen.
Top
Provide Feedback 
1. Click the [Provide Feedback] toolbar button to display the Provide Feedback pop-up window.
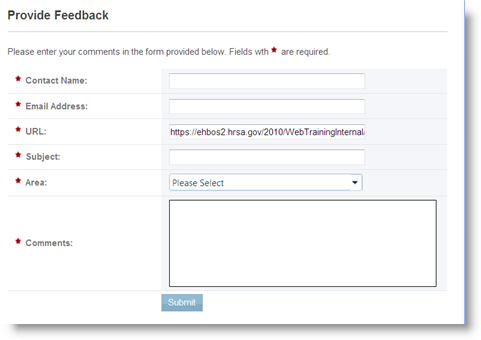
2. Enter the requested information, and click the [Submit] button to send the feedback to HRSA.
Add Screen to Favorites 
1. Click the [Add to Favorites] toolbar button (with a plus sign superimposed on it) to add the current screen to your favorites list. (You can later access this screen by clicking the [Display Favorites] toolbar button on the left toolbar.)
2. After the screen has been added to your favorites list, the toolbar button will display a minus sign superimposed on it.

If you click the toolbar button containing a minus sign, you will remove the screen from your favorites list.
Additional Toolbar Buttons on Some Screens
The right side of the System Toolbar may contain additional toolbar buttons (to the left of the standard toolbar buttons) on 'work screens', such as the Prepare New NGA screen in Awards. Two of these additional toolbar buttons are:
- An [Action] toolbar button, which allows you to perform the same functions as in the Action Dropdown at the bottom of a screen. Since the toolbar buttons do not scroll with the rest of the screen, this toolbar button is useful if you are positioned in the middle of a screen, and cannot readily access the Action Dropdown.
![]()
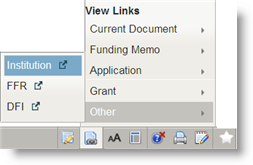
- A [View Links] toolbar button, which allows you to view relevant folders and documents.
- [Screen Section Pointer] toolbar buttons, which when clicked, will scroll the screen to the corresponding section.

* If you click the [Messages on Page] toolbar button . . .
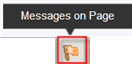
. . . the screen will automatically scroll to any message that appears on the top of the screen
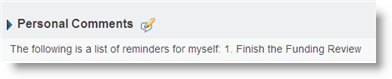
* If you click the [Personal Comments] toolbar button . . .

. . . the screen will automatically scroll to the Personal Comments section of the screen.
Overview
Content Tools
ThemeBuilder